Rustic Bees or Dragonflies Earrings
- Metal Maven
- Apr 12, 2020
- 4 min read
Updated: Sep 18, 2021
Here's a tutorial with photos showing you how to create a set of Bee earrings using the Rustic Bees and Dragonflies Pressing.
First, purchase a Rustic Bees and Dragonflies Pressing from Metal Maven
For this earring set, Metal Maven used a 20-gauge copper pressing.
This pressing is available in copper and sterling silver in different gauges on the Metal Maven website.
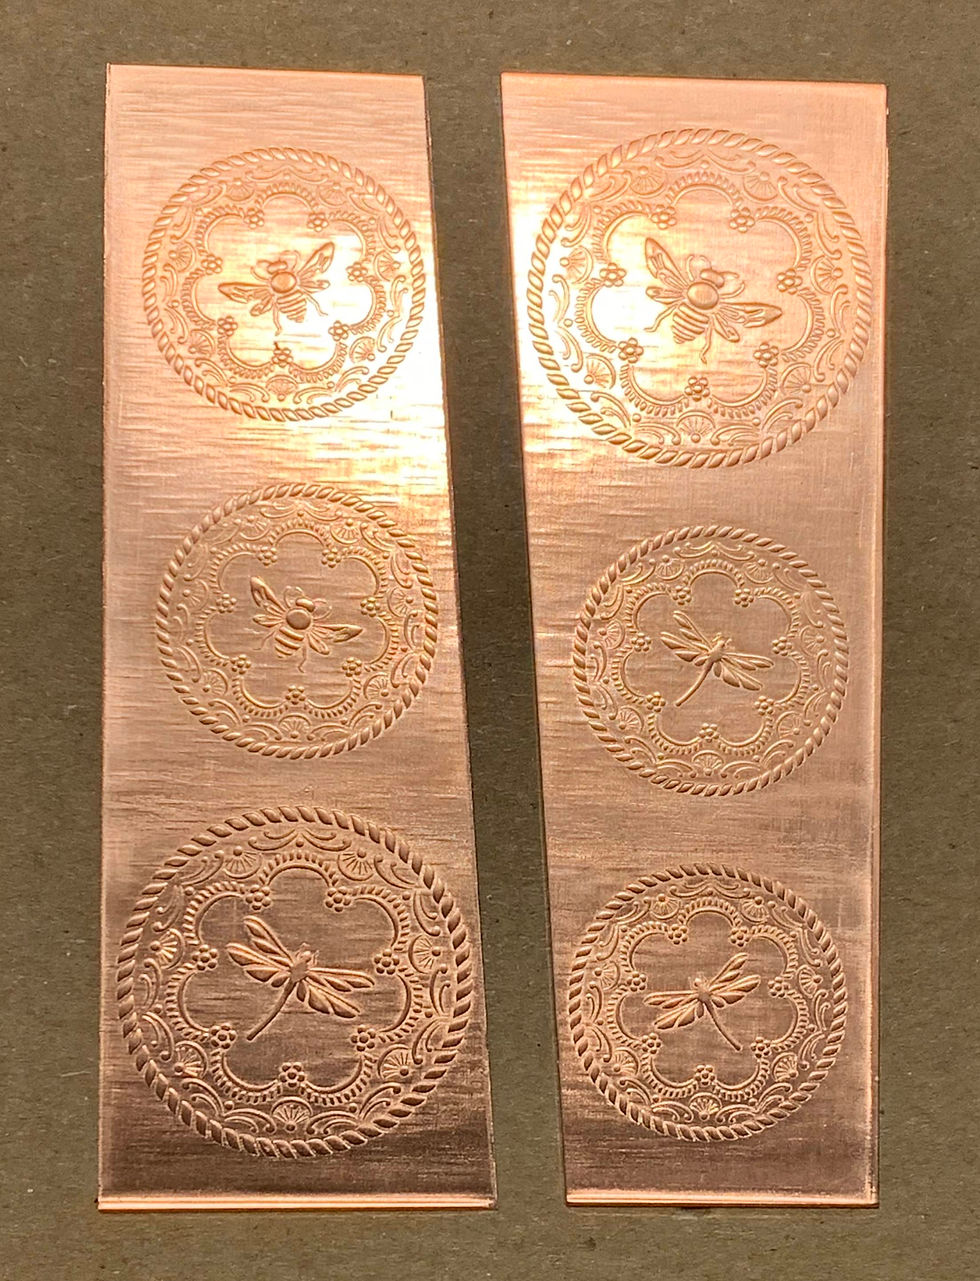
The Rustic Bees and Dragonflies pressing has two different sized designs. The smaller Bees and Dragonflies are 1" across and come in left and right orientation for earring sets. The larger 1-1/4" size can be used for pendants, or whimsical mismatched earrings!


First, cut the pressing in half
Use a guillotine shear or jeweler's saw to cut the pressing in half.
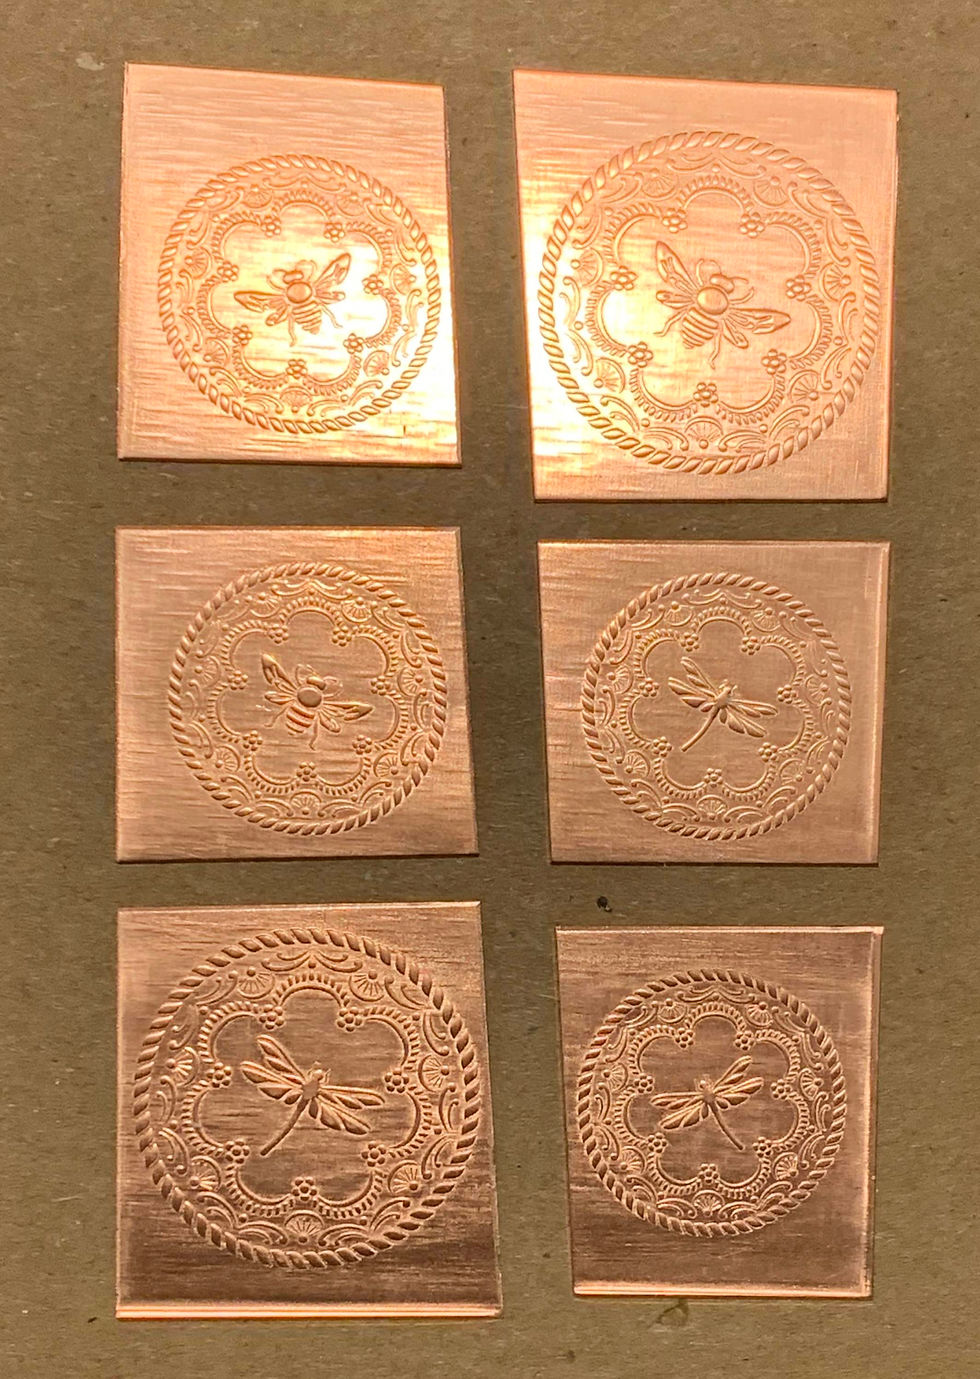
Then cut the two halves into smaller sections
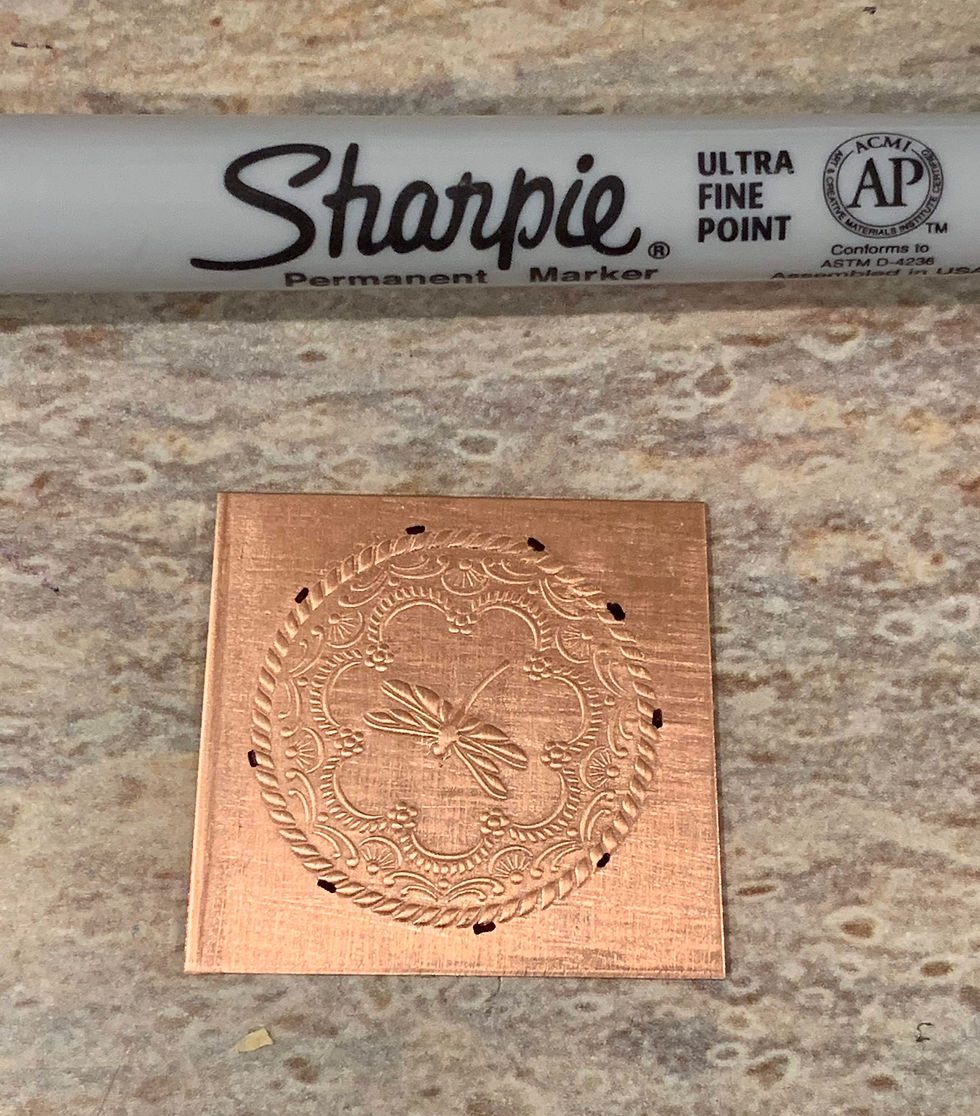
Mark the edges.
Use an Ultra Fine Point Sharpie to mark the outer edges of the rope border.
Cutting the discs
The designs can be cut out with a Jeweler's Saw, but the easiest method is to use a disc cutter if you have one.
Metal Maven uses a Pepe 196.10 Disc Cutter. A newer model of this same disc cutter is available at Otto Frei, the Pepe 196.10A.
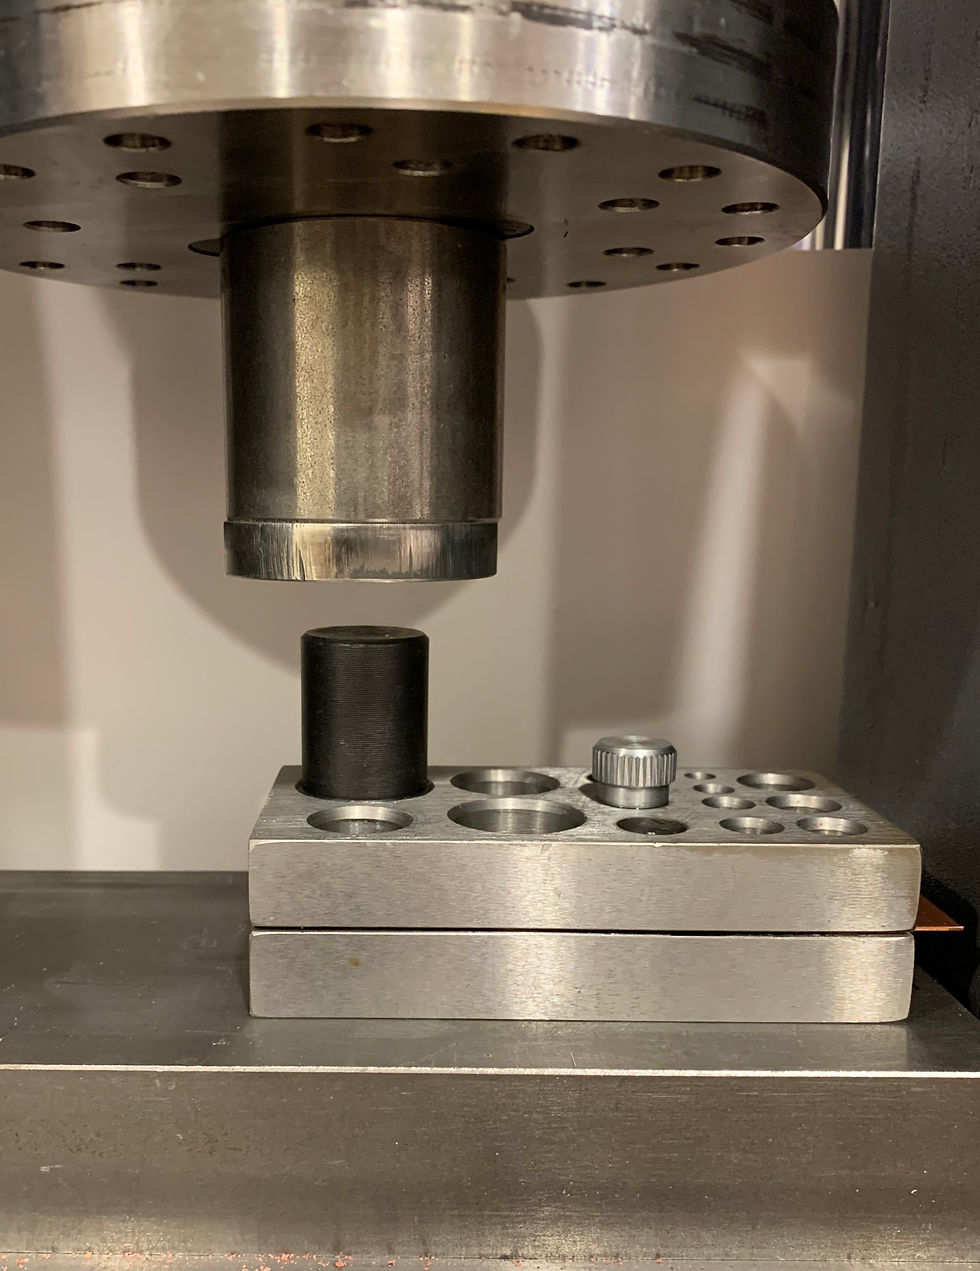
Follow these steps when using a disc cutter:
1) Open your disc cutter wide enough to slide in your metal. On the opposite side of the disc cutter, insert a scrap piece of metal that is the same gauge as your pressing. This is necessary to keep your disc cutter level when cutting. See the photo below.

2) Then turn your disc cutter upside down and slide your metal pressing in and center the design being careful to not mar the raised design. The reason for turning it upside down to insert your metal is to protect the pressed design from being marred by the disc cutter punch. Once you get your design centered in the hole, tighten the disc cutter. Be careful not to over tighten.

3) Flip the disc cutter back over and insert the punch. See the photo below.

4) Use a hammer, mallet, or hydraulic press to force the punch through the disc cutter.
For this tutorial, Metal Maven used a hydraulic press.
When using a hydraulic press, be careful to center the punch in your press and only use enough force to cut through the metal. You do not want to mash your design or ruin your disc cutter punch. Most of the time you will hear a popping sound when the disc has cut through the metal - that's your clue to stop pressing!
Take the disc cutter out of the press and use a nylon hammer or rawhide mallet to force the punch the rest of the way through the disc cutter. Don't let the punch hit the floor or countertop which could damage the cutting edge of the punch. To protect the punch, Metal Maven always holds the disc cutter over a padded surface while hammering the punch out so the punch does not hit the floor or counter.

Marking and Drilling a Hole
Once you have removed your disc from the disc cutter it's time to mark where you want to drill your hole. Use a fine tip Sharpie to mark where the hole will go.
The photo below shows how a hole has been marked with a Sharpie on a similar type disc.

Tip: To keep your drill bit from ruining your piece, use a pointed awl or small nail to put a dimple in the center of your mark.
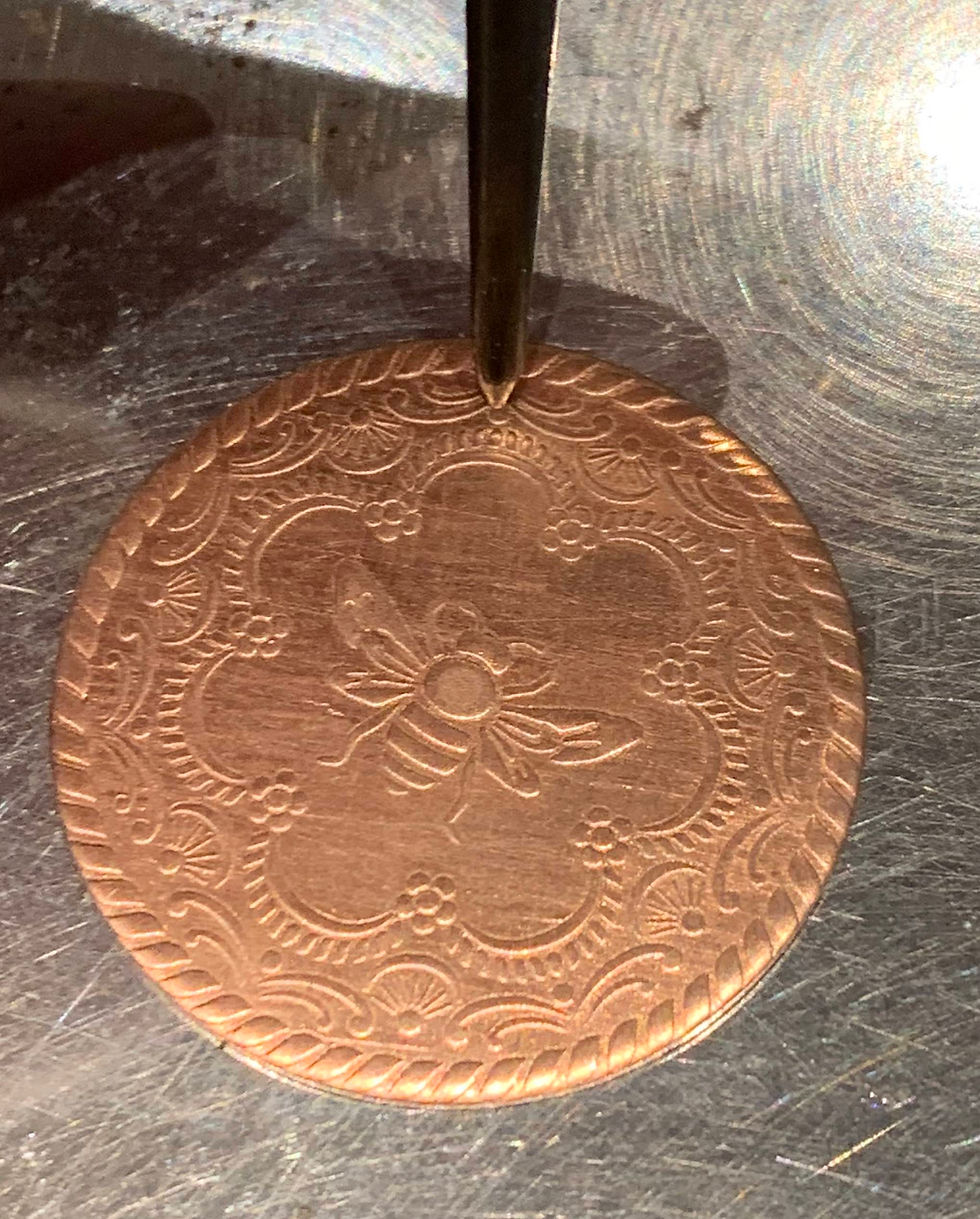
Lightly tap the end of the awl with a hammer to form a dimple. This step is to form a tiny impression so that your drill bit will stay centered and not dance around on the surface of your metal resulting in unwanted scratches.

Line up your drill bit on the dimple and drill a hole. You can also use a flex shaft to drill. To keep the piece from moving when drilling, hold it down with your thumb or fingers.
The photo below shows drilling a hole in a similar type piece.

Deburring the Hole
After drilling, there will likely be some burrs on both front and back of your piece. In the photos below you can see a large burr on the front and a small burr on the back of a similar type piece.

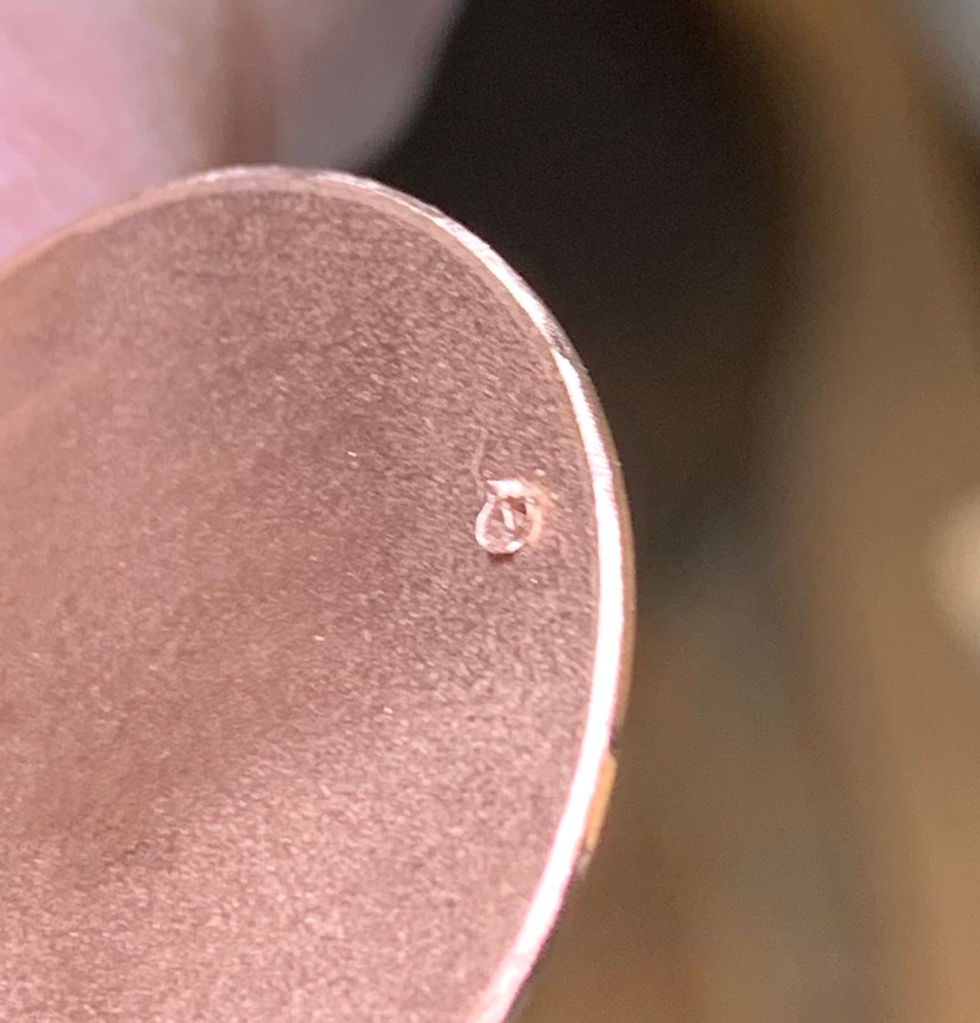
A handy way to easily remove the burrs is to use a round or tapered bur bit that is slightly larger than your hole. Hold the burr bit with your fingers and put the head of the bit against the hole and twist. Keep twisting until all of the burr is removed. This technique will leave a smooth edge around your hole. See photo below.

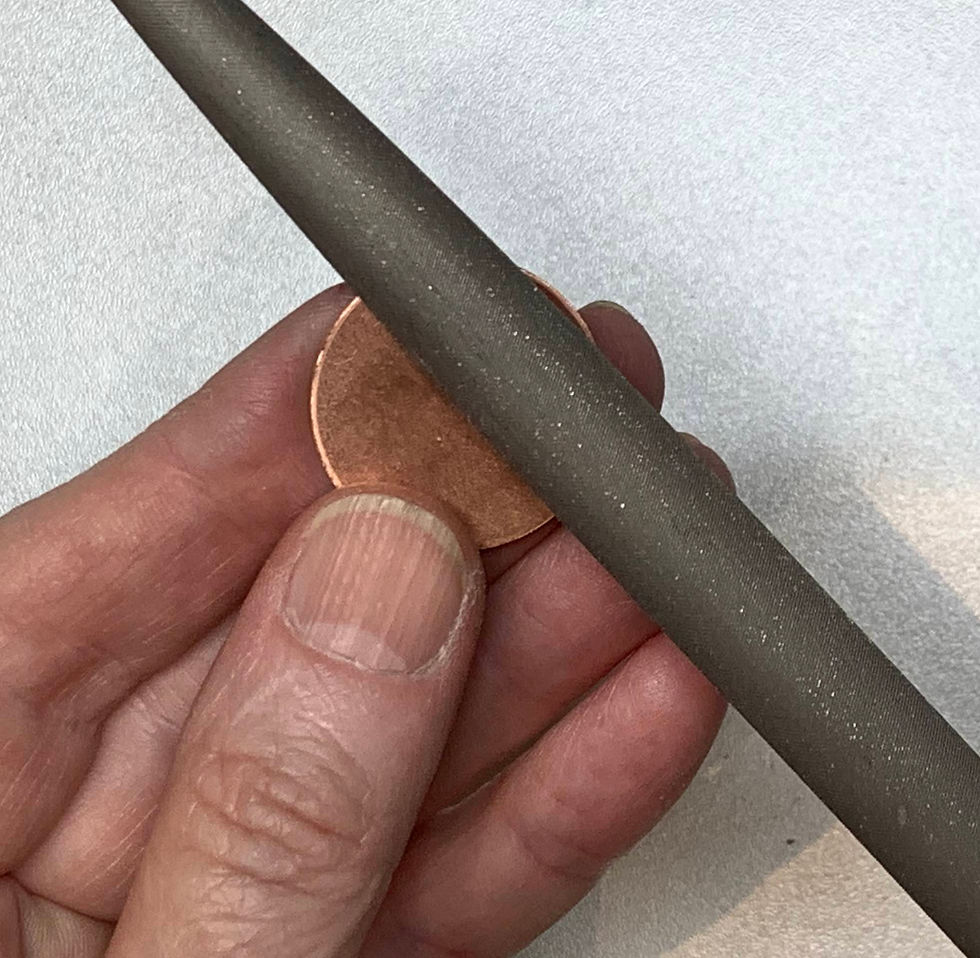
Filing the Edges
Use a file to smooth the edges of the back side of your piece. The front edges should already be smooth from going through the disc cutter. Use the flat side of a #6 half-round half-flat file or 800 grit wet/dry sandpaper. See photo below.
ADDING PATINA
Oxidize with Gosiba, Liver of Sulphur, or your choice of blackening agent. Metal Maven used Gosiba. She dipped the disc in the Gosiba for about 6 seconds, then rinsed in cool water. She repeated this several times until she got the degree of darkness she wanted.
After adding patina, use 2000 or 2500 grit wet/dry sandpaper to gently sand the oxidation away from the raised areas.
Finishing Your Piece
Tumble in a rotary tumbler with steel shot, polish on a buffer, or hand polish using a Sunshine polishing cloth (available at Rio Grande Jewelers Supply).
Adding the Earwires
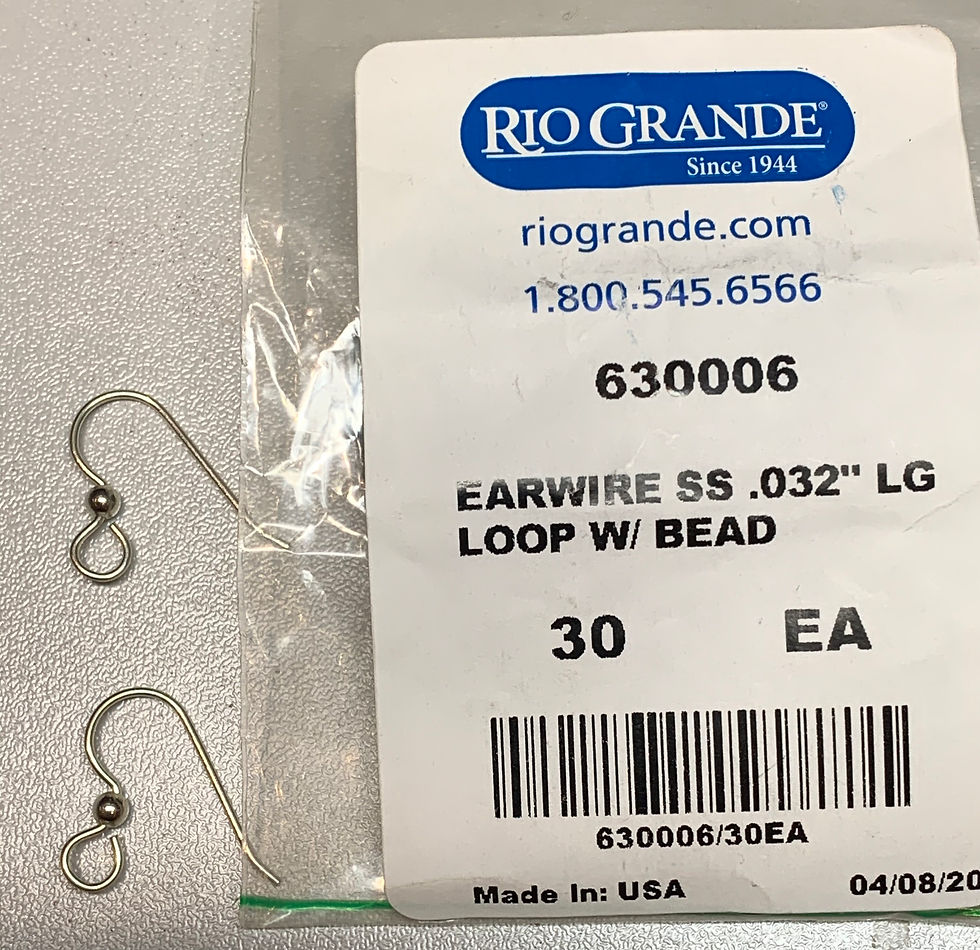
Metal Maven recommends using Sterling Silver earwires from Rio Grande. They are relatively inexpensive and allow you to market your earrings as being good quality as opposed to base metal earwires. Here are the ear wires used for these earrings.
Opening the earwires.
A good technique for attaching the ear wire loop to your piece involves opening the loop to the side instead of pulling it out from the ball. Grab a pair of chain nose pliers and hold the open end of the loop. See the photo below.

Now hold the earwire with your fingers and bend the loop towards you or away from you. The loop will look like the photo below if you have done it correctly. Next, put the open loop through the hole at the top of your piece. Using the pliers again, bend the open loop back into place. Be sure to face the front of the earring to front side of the earwire.

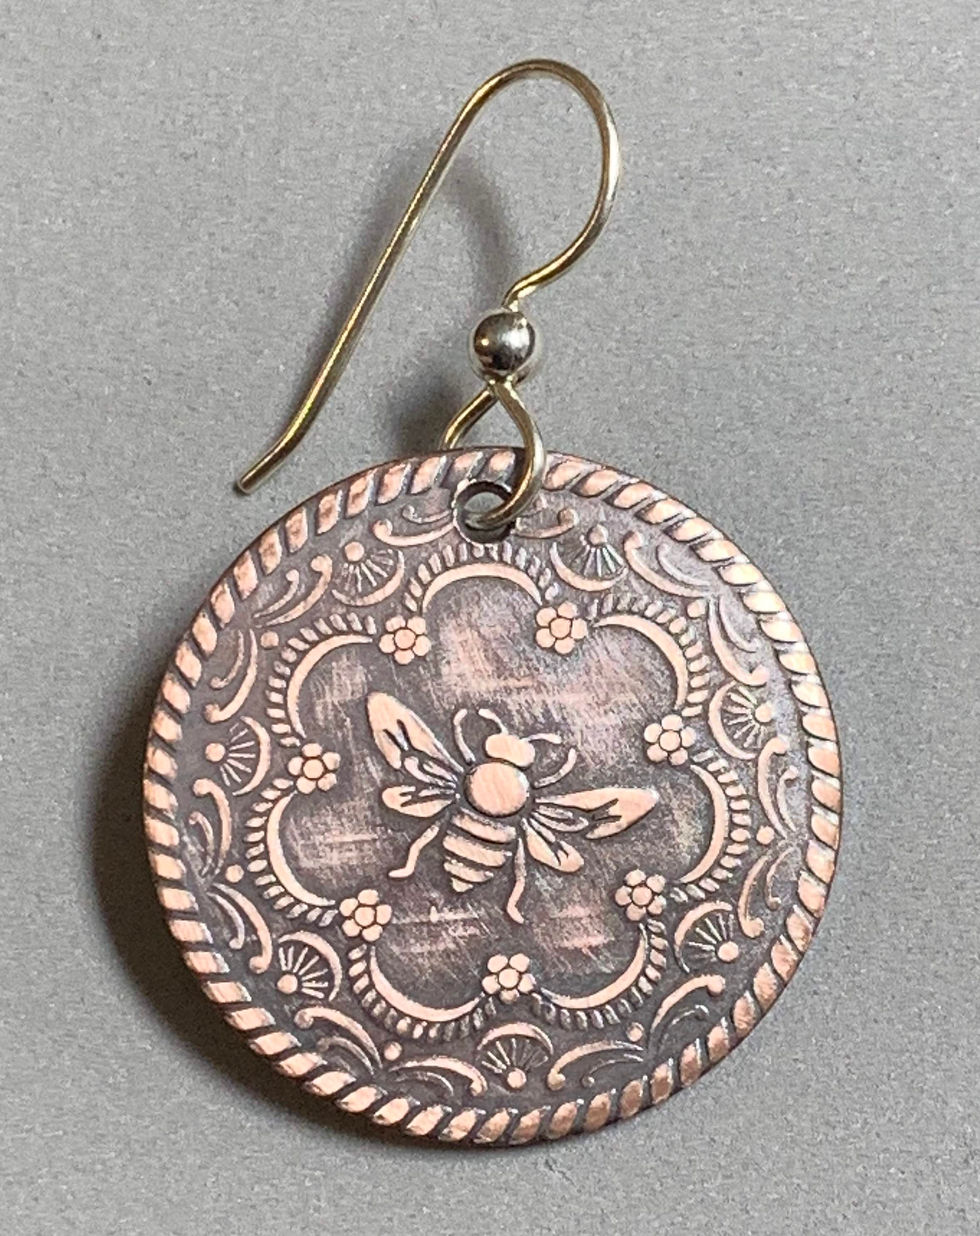
The Finished Piece


Comments